Embark on a journey through the world of horology! This guide will navigate you through the intricacies of timepieces. From understanding basic components to exploring luxury brands, find the perfect watch. Discover how to choose the right size, understand water resistance, and buy online safely.
Understanding Watch Basics
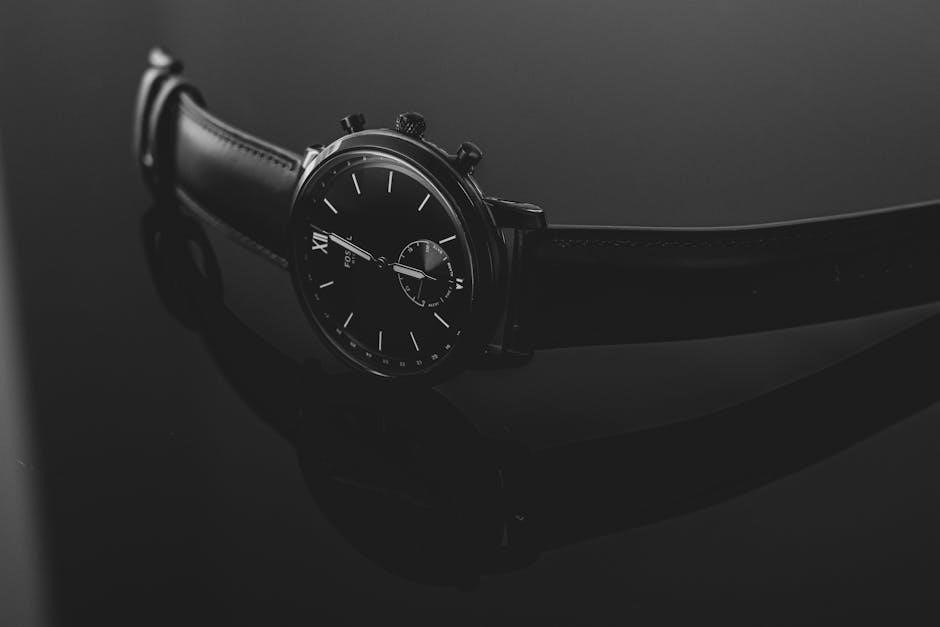
Before diving into the world of wristwatches, understanding the fundamental components is crucial. A watch comprises several key parts working in harmony to display time accurately. The case houses the inner workings, protecting them from external elements. The dial, or face, displays the time using hands and markers.
The movement, whether quartz or mechanical, powers the watch. The crystal, typically made of mineral, sapphire, or acrylic, covers the dial, offering scratch resistance. The bezel surrounds the crystal, sometimes rotating for specific functions. The crown adjusts the time and date. Finally, the strap or bracelet secures the watch to your wrist.
Familiarizing yourself with these basics is the first step toward making an informed buying decision. Each component contributes to the overall functionality and aesthetic of the timepiece. Knowing these elements allows for better appreciation and care. This will help you navigate the market effectively.
Quartz vs. Mechanical Watches
The heart of any watch lies in its movement, and the primary distinction lies between quartz and mechanical. Quartz watches are battery-powered, utilizing a quartz crystal that vibrates at a precise frequency to regulate time. They are known for their accuracy, affordability, and low maintenance. A battery powers the movement.
Mechanical watches, on the other hand, rely on intricate systems of gears, springs, and levers. They are powered by winding, either manually or automatically through the motion of the wearer’s wrist. Mechanical watches require more care.
Choosing between quartz and mechanical depends on your preferences. Do you value precision and convenience? Then quartz may be ideal. Do you appreciate craftsmanship and tradition? Then mechanical will be more appealing. They showcase the art of horology. Each movement offers a unique experience.
Luxury Watch Brands
Delving into the realm of luxury watches unveils a world of prestige, craftsmanship, and innovation. Brands like Audemars Piguet, Blancpain, and IWC stand as titans. They command prices reaching tens or even hundreds of thousands of dollars. These timepieces are testaments to horological artistry. Every detail is meticulously crafted.
OMEGA has appeared on the wrist of supers spies, becoming synonymous with adventure and sophistication. Zenith’s Chronomaster Sport boasts an El Primero movement. This shows it was the first automatic chronograph movement used on a commercial wrist watch. These brands represent the pinnacle of watch making.
Ultimately, luxury watches are more than just time-telling devices. They are investments, heirlooms, and expressions of personal style. Choosing a luxury brand involves considering heritage, design, and the unique story each timepiece tells.
Matching Watch Size to Wrist Size
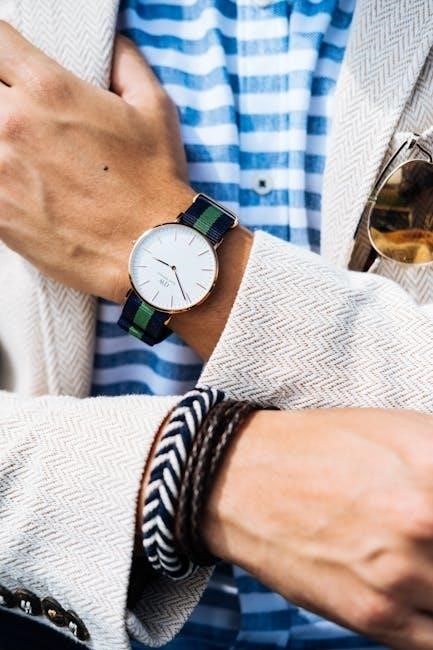
Finding the perfect fit involves understanding the relationship between watch case diameter and wrist circumference. A harmonious balance ensures comfort, wearability, and aesthetic appeal. The goal is to select a watch that complements your wrist. It shouldn’t overwhelm or appear disproportionately small.
Those with smaller wrists should opt for a 32-40mm case. This creates a balanced and elegant look. Larger wrists can comfortably accommodate cases up to 46mm. However, personal preference plays a significant role.

Consider the lug-to-lug distance, the measurement between the ends of the lugs. This ensures the watch sits comfortably without overhang. Trying on watches is crucial. It helps determine the most flattering size and fit.
Ultimately, the right size enhances the overall watch-wearing experience. It reflects individual style and ensures comfort. It also ensures that the watch becomes a seamless extension of your personal style.
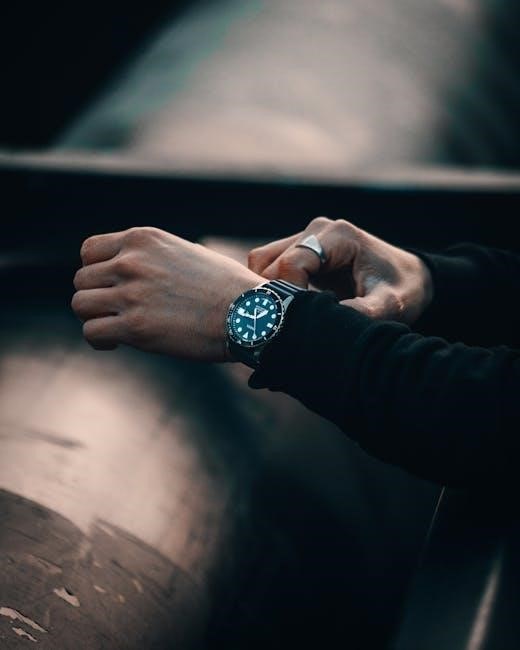
Water Resistance in Watches
Understanding water resistance is vital, especially when considering a watch for daily wear or specific activities. Water resistance is measured in atmospheres (ATM) or meters (m), indicating the static pressure a watch can withstand;
A watch marked 30m/3ATM is suitable for splashes or rain. However, it is not suitable for swimming. 50m/5ATM rated watches can handle brief submersion. Avoid wearing them while swimming or showering.
For swimming and snorkeling, a 100m/10ATM rating is recommended. Diving requires a minimum of 200m/20ATM. This ensures the watch can withstand the increased pressure at depth.
It’s crucial to remember that these ratings are based on laboratory tests. Real-world conditions can be more demanding. Temperature changes and impacts can affect water resistance. Regularly inspect and maintain your watch‘s seals to ensure optimal protection.
Proper care extends the life of your timepiece. It allows you to confidently enjoy your watch in various environments.
Buying Watches Online
The digital marketplace offers an extensive selection of watches, but navigating it requires caution. Begin by researching reputable online retailers. Look for established dealers with a proven track record. Check for secure payment options and clear return policies.
Carefully examine product descriptions and images. Ensure they provide detailed information about the watch‘s specifications, condition, and included accessories. Request additional photos or videos if needed.
Read customer reviews to gauge the seller’s reliability and customer satisfaction; Be wary of deals that seem too good to be true. These may indicate counterfeit or misrepresented products.
Consider purchasing from authorized dealers or platforms that offer authentication services; This reduces the risk of receiving a fake watch.
Understand the warranty and return process before making a purchase. Confirm that you can return the watch if it doesn’t meet your expectations. Protect yourself by using secure payment methods and keeping records of all transactions. With careful research, online buying can be rewarding.
Checking Dealer Reputation
Before entrusting a dealer with your watch purchase, thorough research is crucial. Start by exploring online reviews from various sources. Look for consistent patterns of positive or negative feedback. Pay attention to comments regarding customer service, product authenticity, and after-sales support.
Verify the dealer’s accreditation with reputable organizations. Membership in industry associations can indicate a commitment to ethical business practices. Check for any complaints filed against the dealer with consumer protection agencies. A history of unresolved issues can be a red flag.
Seek recommendations from fellow watch enthusiasts or collectors. Their personal experiences can offer valuable insights into a dealer’s reputation. Visit the dealer’s physical store, if possible, to assess their professionalism and expertise. A knowledgeable and helpful staff is a good sign.
Don’t hesitate to ask the dealer for references from previous customers. Contacting these references can provide firsthand accounts of their experiences. By diligently investigating a dealer’s reputation, you can minimize the risk of a disappointing or fraudulent transaction.
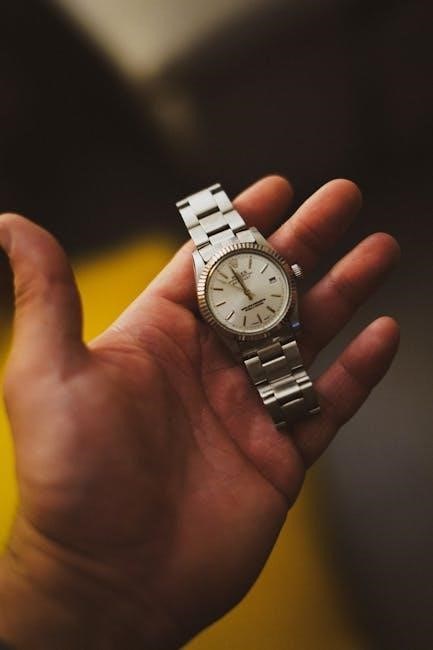
Condition of Used Watches
Assessing the condition of a used watch is paramount before making a purchase. Begin with a thorough visual inspection, examining the case, crystal, and dial for any scratches, dents, or imperfections. Note any signs of wear and tear, as these can affect the watch’s value and functionality. Pay close attention to the crown and pushers, ensuring they operate smoothly.
Request detailed photographs or videos of the watch, preferably in high resolution, to scrutinize its condition remotely. Inquire about the watch’s service history and request any available documentation, such as service records or receipts. A well-maintained watch is more likely to be in good working order.
Check the luminosity of the hands and hour markers, ensuring they glow brightly in the dark. Verify the authenticity of the watch by comparing it to reference images and scrutinizing the hallmarks and engravings. If possible, have the watch inspected by a qualified watchmaker to assess its mechanical condition and identify any potential issues. A professional evaluation can provide peace of mind and prevent costly surprises.
Caring for Luxury Watches
Proper care is crucial for preserving the beauty and functionality of luxury watches. Start by cleaning your watch regularly with a soft, damp cloth to remove dirt, dust, and fingerprints. Avoid using harsh chemicals or abrasive cleaners, as they can damage the delicate surfaces. For leather straps, use a specialized leather cleaner and conditioner to keep them supple and prevent cracking.
Store your watch in a cool, dry place, away from direct sunlight and extreme temperatures. Consider using a watch winder for automatic watches to keep them running smoothly when not worn. Have your watch serviced regularly by a qualified watchmaker, following the manufacturer’s recommendations. Service intervals typically range from three to five years, depending on the watch’s complexity and usage.
Protect your watch from shocks, impacts, and magnetic fields, as these can damage the movement. Be mindful of water resistance and avoid exposing your watch to water beyond its rated depth. When not wearing your watch, store it in a watch box or pouch to prevent scratches and dust accumulation; With proper care and maintenance, your luxury watch will provide years of enjoyment.
Watch Complications
Watch complications refer to the additional functions a timepiece offers beyond simply telling the time. These features showcase the horological skill and ingenuity of watchmakers. A common complication is the date display, often found in a small window on the dial. Day-date complications display both the day of the week and the date.
Chronographs are stopwatch functions, allowing for measuring elapsed time. Moon phase complications depict the current phase of the moon, adding a touch of celestial elegance. Perpetual calendars automatically adjust for leap years and varying month lengths, requiring minimal manual correction.
Repeaters chime the time on demand, a feature historically used before widespread illumination. Tourbillons counteract the effects of gravity on the movement, enhancing accuracy. GMT or world time complications display multiple time zones simultaneously, ideal for travelers. Power reserve indicators show the amount of remaining energy in the mainspring. Each complication adds complexity and value to a watch, catering to diverse needs and preferences. The presence and type of complications significantly influence a watch’s price and desirability.